

Hey there! Coming your way today with news on how I’m able to single-handedly take over 200 photos in just 1 day’s time. Yes, it’s possible, time management is your friend! Let’s go!

Why So Many Photos in One Day?
Well, why not? But truthfully, you may be wondering why I try squishing this all into one day. Let me explain.
Since I’ve started being a reseller, decisions have been made and adjusted, altered, you name it. Since I always try to make the most of my time, I’ve opted for blocking off certain tasks for certain days.
This meant that if I planned to keep my listings per day at the same rate, I’d need to move things around a bit. Hence, all photography has been moved to one day per week! Fun!
Although taking photos is not on the top of my reseller favorite list of to-do’s, it’s a necessary evil.
What’s your favorite to-do on your list of reseller tasks? Let me hear about it in the comment section below!
What’s My New Process?
You may be thinking it’s gotta be complicated, right? Not at all, actually! It’s really all about your processes and making new habits.
I try to form new habits on the regular in my life, and since my business is a big part of that, I definitely enjoyed reading the book Atomic Habits. (No seriously, it’s a life-changer. Check it out sometime!)
So, how do 200+ items of pictures get taken in one day? Lots and lots of preparation and planning.
Here’s a rundown of my system from start to finish:
- Go sourcing! Or better yet, get those items shipped to your doorstep and save yourself some serious time and hassle! (And gas money!)
- Bust open those boxes of fresh new inventory and dig in. (But not so fast that you forget your processes!)
- Have some empty bins ready. Label them List, Laundry, & Let Go. (You could even grab a separate bin to keep tops & bottoms separated! This makes things quicker and easier when it comes time for photography).
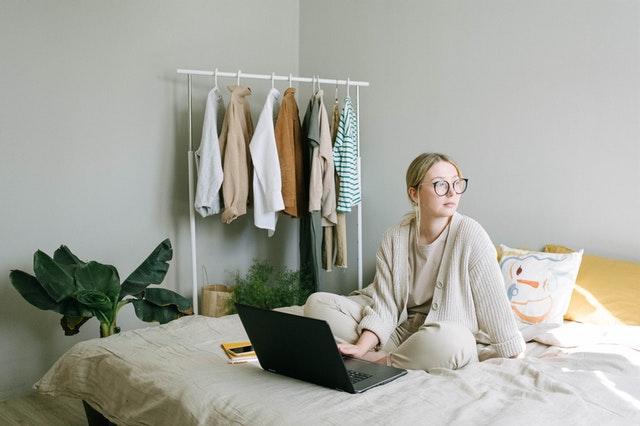
- Get your photo setup ready, (lights, camera, action!), and keep it clear of dust, debris, and other unnecessary items in the background. (Make sure your station is free of shadows!)
- Part of my photo setup is grabbing any boxes/bins of current inventory that could use some more items, and placing those on the floor around my setup area. This way, once one box or bin has been filled, I can simply snap a photo of the Letter or Number and be on my way to the next set of images!
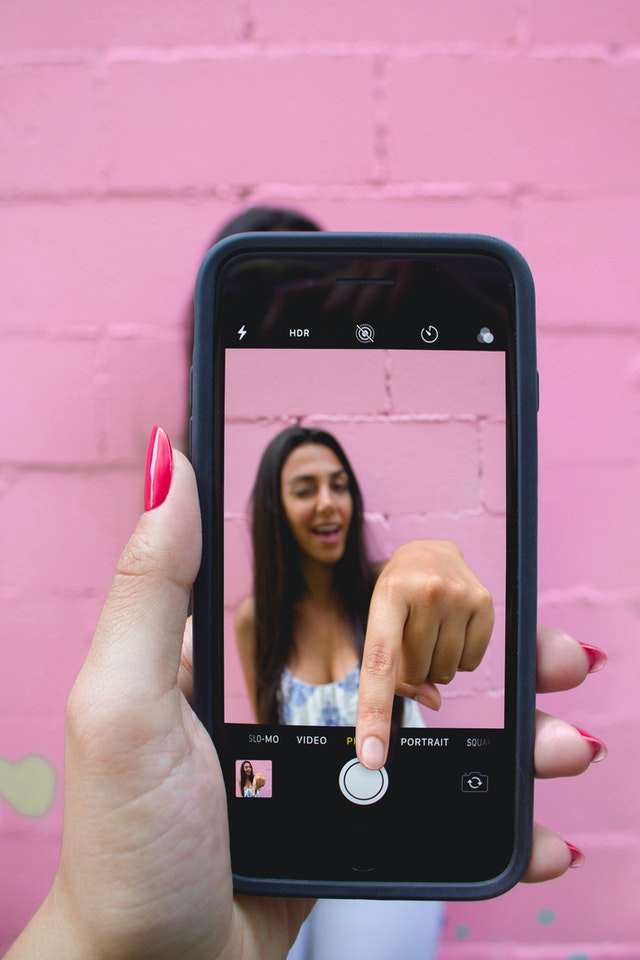
- Have a folder in your phone or camera ready to take those pics on, so that they stay nice and organized until upload time is here.
- Go through your List bin, taking photos of your items in the same order every time. This will ensure nothing is missed or forgotten and will keep your store looking consistent. (I highly recommend using a yardstick or a Reseller Ruler, as this is much easier to move quickly than a roll-out measuring tape).
- Process all of your photos put your boxes or bins away, and get ready for some serious screen time while you upload all at once. (Yes! Don’t wait around for this! This is how photos or items get lost or never listed. Finish the whole process every time).
- Save your items as drafts, delete (or don’t, the choice is yours!) your photos, and wa-lah! You’ve now got a full supply of listings ready to go at your convenience.
- Great job! Give yourself a pat on the back, because it’s probably sore and angry by now.
-
Related: Are You Still Using the Bin System?
What About You?
What does your photo setup look like? Are you organized? Efficient? Although it may take preparation to do this task all at once, I highly recommend it for anyone trying to boost their listings per day.
Moving through the motions after a handful of times will get you quicker, more accurate results instead of randomly snapping a few photos here and there.
You don’t have to start with 200! Try 10! Or maybe 50 works for you. It’s all about what’s best for you and your business. I’m hopeful this system will work for you as well as it’s been working for me.
Happy snapping! -Shelby
Thank You!
A giant thanks to everyone that has supported me this far into my journey! I greatly appreciate you returning to read my posts hope that you will continue to drop by in the future.
Please feel free to drop any comments below that you would like to add! I am always open to advice, suggestions, or even hearing related stories of your own!
I stay as active as possible in the comment section, therefore I will reply to any questions asap.
Pop over to Our Blog Posts Page to view more tips and tricks!
Be Sure To Check Out These Helpful Posts on Your Way:
Read All About How to Start Selling on eBay and when you’re finished, freshen up your store with My Best eBay Selling Tips!
Be sure to Subscribe to be notified of any new articles to come!
Happy selling friends!
-Shelby